"The cortex is the outer layer of the brain. It’s where the good stuff happens: thinking, language, decision-making, context, judgment."
CortexMail isn't just another auto-reply bot. It's a cognitive email assistant that understands context, interprets intent, and makes decisions like a thinking entity. It doesn't just react; it processes.
A production-ready AI-powered email intelligence system with real SMTP/IMAP integration, context-aware cognition, and a robust Neobrutalist web interface.
- 🧠 Context-Aware AI Engine - Understands email topics (billing, technical, scheduling) and generates custom responses.
- 🦙 Ollama Integration - Support for local LLMs like Llama 3 and Mistral for high-quality, human-like replies.
- 📧 Full Email Integration - IMAP/SMTP support for Gmail, Outlook, Yahoo, and more.
- ⚡ Real-time Monitoring - Automatic background inbox checking with configurable intervals.
- 💾 Permanent History - Processed emails and history are persisted locally, surviving server restarts.
- 🛡️ Thread-Safe Operations - Robust connection management handling concurrent manual and automatic checks.
- 🎨 Neobrutalist UI/UX - Bold, high-contrast dashboard built with Bootswatch Brite and Bootstrap 5.
- ⚖️ Apache License 2.0 - Fully open-source and ready for professional use.

- Python 3.8 or higher
- An email account with App Password enabled:
- (Optional) Ollama for advanced AI generation.
# Clone Repository
git clone https://github.com/apiwishboon-spec/AI-Email-Auto-Reply-System.git
cd AI-Email-Auto-Reply-System

# Create Virtual Environment & Install
# Linux/macOS:
python3 -m venv venv && source venv/bin/activate && pip install -r requirements.txt

# Windows (PowerShell):
python -m venv venv; .\venv\Scripts\activate; pip install -r requirements.txtcp .env.example .env # Windows: copy .env.example .env
# Edit .env to set preferences (Optional)-
Launch the Server
python app.py
The application will be accessible at
http://localhost:5001. -
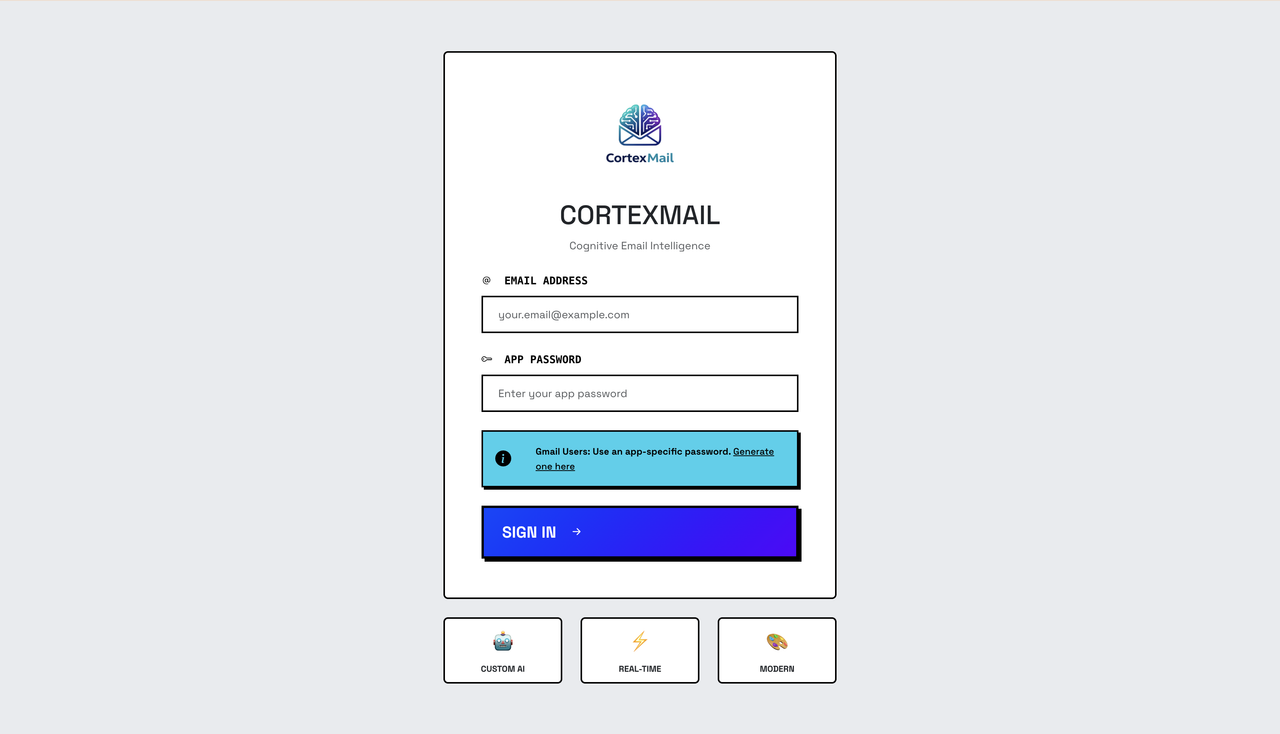
Login Enter your email and the App Password you generated.
-
Start Monitoring Enable Auto-Reply from the dashboard. The system will start checking your inbox every 30 seconds (default).
graph TD
    User((User)) -->|Browser| WebUI[Flask Web UI]
    WebUI -->|API| App[Flask app.py]
    App -->|Manage| Monitor[Monitor Service]
    Monitor -->|Check| EmailSvc[Email Service]
    EmailSvc -->|Read/Send| Provider[Email Provider]
    EmailSvc -->|Analyze| AI[Context-Aware AI]
    AI -->|Generate| Template[Email Template Gen]
    AI -->|Optional| Ollama[Local LLM / Llama 3]
    Template --> EmailSvc
- Backend: Python, Flask, Flask-CORS
- Email Protocol: IMAP (imaplib) & SMTP (smtplib)
- AI Core: Custom AI Processor + Optional Ollama (Requests)
- Frontend: Bootstrap 5, Bootswatch Brite (Neobrutalism), Vanilla Javascript
- Persistence: Local JSON Storage (Thread-safe)
- App Passwords: Never use your primary account password.
- Environment Safety: The
.envandprocessed_history.jsonfiles are git-ignored to protect your data. - Local AI: Using Ollama keeps your email content entirely on your own machine.
- Persistence: Processed email IDs are tracked to prevent double-replies.
This project is licensed under the Apache License 2.0. See the LICENSE file for details.
APIWISH ANUTARAVANICHKUL © 2025 All rights reserved.