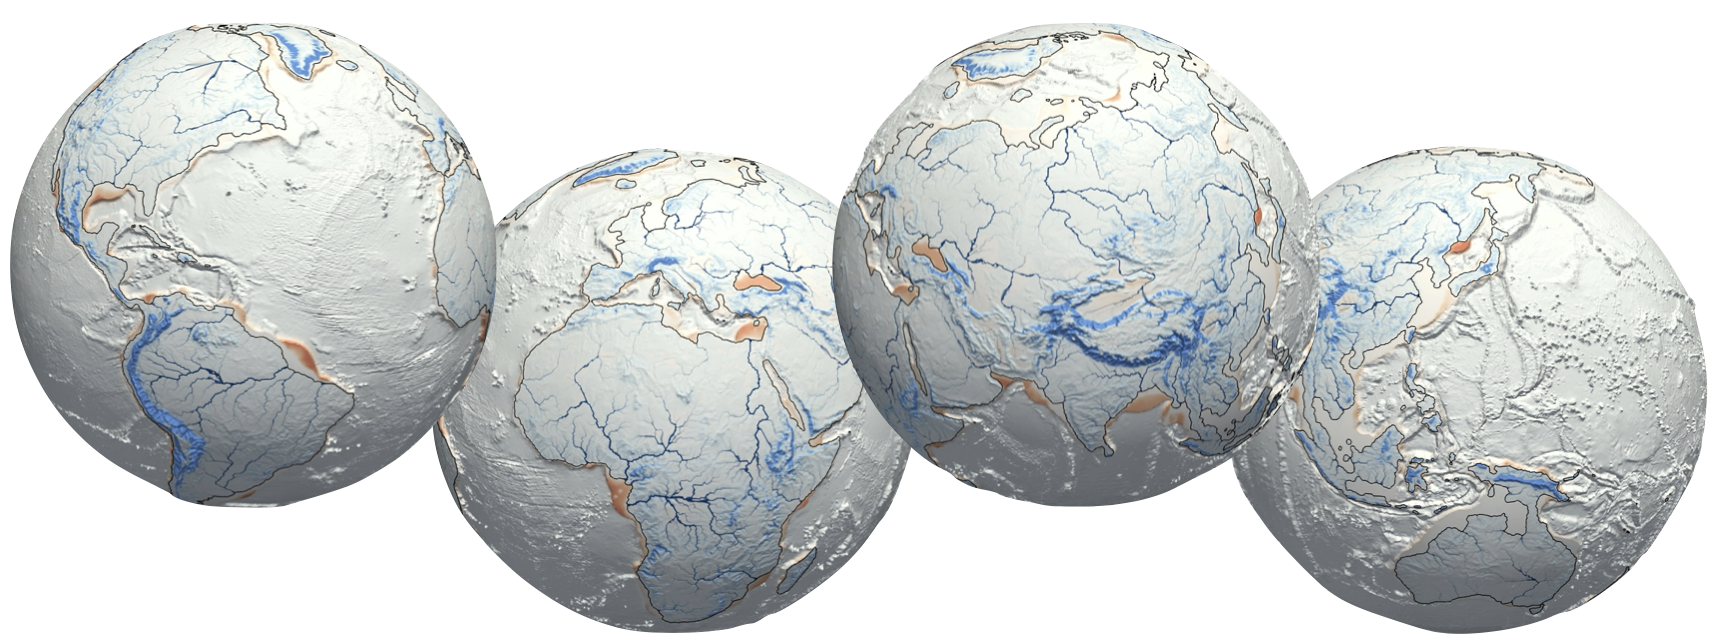
Series of examples to illustrate the functionalities of goSPL.
goSPL (short for Global Scalable Paleo Landscape Evolution) is an open source, GPL-licensed library providing a scalable parallelised Python-based numerical model to simulate landscapes and basins reconstruction at global scale. goSPL is developed by the EarthCodeLab Group <https://earthcolab.org>_ at the University of Sydney.

Full docs are available at: https://gospl.readthedocs.io/en/latest/
  mamba env create -f environment.yml
  conda activate gospl-smoke
Here for more details.
The geodels/gospl-examples image packages the full gospl-smoke conda environment (goSPL, PETSc, GMT, VTK, JupyterLab) and is the recommended way to run the examples without a local conda install.
How the image is built. The image is built automatically from
environment.yml(viamamba) by theBuild and push Docker imageGitHub Actions workflow and pushed to Docker Hub on every release tag or manual trigger. Two repository secrets are required:DOCKERHUB_USERNAME(a Docker Hub account with push access togeodels/gospl-examples) andDOCKERHUB_TOKEN(a Read & Write personal access token for that account, generated under Account Settings → Personal access tokens on Docker Hub).
Once you have installed Docker on your system, pull the examples image:
docker pull geodels/gospl-examples:latestApple Silicon (M1/M2/M3) users. The image is published as a multi-arch manifest with native
linux/arm64andlinux/amd64builds, so a plaindocker pullautomatically selects the arm64 image on Apple Silicon — no--platformflag and no Rosetta emulation needed. Running the native arm64 image is much faster than forcing the amd64 image under emulation, so avoid adding--platform linux/amd64on Apple Silicon. You can confirm you got the native build with:docker run --rm geodels/gospl-examples:latest python -c "import platform; print(platform.machine())" # expect: aarch64 on Apple Silicon, x86_64 on Intel
Clone this repository and start the container, mounting it at /work:
git clone https://github.com/Geodels/goSPL-examples.git
cd goSPL-examples
docker run -it --rm -p 8888:8888 -v "$PWD":/work geodels/gospl-examples:latest
Apple Silicon users: no
--platformflag is needed — Docker pulls the nativelinux/arm64image automatically, which is significantly faster than amd64 emulation.
JupyterLab will start and print a http://127.0.0.1:8888/lab?token=… URL — open it in your browser. The full repository is visible under /work and the gospl-smoke environment is already active (no conda activate needed).
Depending on your operating system, you can configure Docker's resource allocation (CPUs, memory, swap, disk image size) to improve performance.
Note that you can also use the Docker Desktop Dashboard to pull the image instead of the terminal.
The geodels/gospl-examples image ships the gospl-smoke environment only (no notebooks), so you run it against a local clone of this repository mounted at /work:
git clone https://github.com/Geodels/goSPL-examples.git
cd goSPL-examples
docker pull geodels/gospl-examples:latest
docker run -it --rm -p 8888:8888 -v "$PWD":/work geodels/gospl-examples:latest
JupyterLab starts and prints a http://127.0.0.1:8888/lab?token=… URL in the terminal — open it in your browser. Every example in the repository is visible under /work. Beyond the one shown below, the repo bundles a range of local and global examples, each pairing pre-processing notebooks (build_inputs.ipynb / model_setup.ipynb) with post-processing analysis notebooks (sims-analysis.ipynb / extract_strata.ipynb) — working through them is the best way to get familiar with goSPL's capabilities, so browse the examples catalog and pick any one.
Each example follows the same three stages:
- Build the inputs — run all cells of the example's
build_inputs.ipynb/model_setup.ipynbto generate the mesh and forcing files. - Run the model — open a terminal in JupyterLab (File ▸ New ▸ Terminal) and launch goSPL under MPI (command below).
- Analyse the outputs — run all cells of the example's
sims-analysis.ipynb/extract_strata.ipynbto remap and plot the results.
# step 2, inside the container — here the stratigraphic_record example
cd /work/Local-examples/stratigraphic_record
mpirun -np 4 python runModel.py -i input-strati.yml
The gospl-smoke environment is already on the PATH (no conda activate needed) and the MPI/libfabric TCP workaround is baked into the image. Change -np 4 to the number of MPI ranks you want, and -i to the example's input file.
Performance — threading. The image defaults BLAS/OpenMP threads to 1 (
OMP_NUM_THREADS,OPENBLAS_NUM_THREADS,MKL_NUM_THREADS,NUMEXPR_NUM_THREADS). goSPL gets its parallelism from MPI ranks (mpirun -np N), so single-threaded BLAS per rank avoids CPU oversubscription — leaving these unset lets every rank spawn one BLAS thread per core, which can make the container much slower than a native run. Set-npto the number of physical cores you want to use. For a non-MPI, single-process numpy/numba workload you can re-enable threading with e.g.docker run -e OMP_NUM_THREADS=8 .... Also make sure Docker Desktop is allocated enough CPUs/RAM (Settings → Resources).
The stratigraphic_record example ships its inputs (inputs/gospl_mesh.npz, inputs/sealevel.csv), so you can run goSPL headless to verify the whole stack in a single command:
docker run -it --rm -v "$PWD":/work geodels/gospl-examples:latest \
  bash -lc "cd /work/Local-examples/stratigraphic_record && mpirun -np 4 python runModel.py -i input-strati.yml"
A successful run prints goSPL's per-step progress and writes its HDF5 outputs into the example folder, ready to be post-processed by extract_strata.ipynb. (The continental_flux example needs its build_inputs.ipynb run first, because its mesh is generated from the data/*.nc files.)
One of the simplest way to install not only goSPL, but required dependencies is with Anaconda, a cross-platform (Linux, Mac OS X, Windows) Python distribution for data analytics and scientific computing.
For Windows users, you will need to install Anaconda via the Windows Ubuntu Terminal from WSL. There are several articles on the web to do so (such as this one)
A full list of the packages available as part of the Anaconda distribution can be found here.
Another advantage to installing Anaconda is that you don't need admin rights to install it. Anaconda can install in the user's home directory, which makes it trivial to delete Anaconda if you decide (just delete that folder).
After getting Anaconda installed, the user will have already access to some essential Python packages and will be able to install a functioning goSPL environment by following the directives below.
The next step consists in downloading the conda environment for goSPL. A conda environment is like a virtualenv that allows you to install a specific flavor of Python and set of libraries. For the latest version (master branch) of goSPL, this is done by downloading the environment.yml file <https://raw.githubusercontent.com/Geodels/goSPL-examples/master/environment.yml>_. To do this you can use the curl:
curl https://raw.githubusercontent.com/Geodels/goSPL-examples/master/environment.yml --output environment.ymlor wget command:
wget https://raw.githubusercontent.com/Geodels/goSPL-examples/master/environment.ymlThis will save the file locally under the same name as it was on github: environment.yml.
Alternatively you can get it from your preferred web browser by clicking on the following link: environment.yml and saving it under the following name environment.yml.
goSPL is not directly packaged as a Conda library because some of its dependencies are not available via this installation. The use of the environment file however provides an easy installation approach.
Once the environment.yml file has been downloaded on your system. The following directives provide a step-by-step guide to create a local conda environment for goSPL.
Navigate to the directory containing the environment.yml file and run the following commands from a terminal window:
conda env create -f environment.ymlThis will create an environment with the dependencies and packages required to run goSPL-examples.
To put your self inside this environment run::
conda activate gospl-smokeTo install other packages, jupyter for example::
conda install jupyterAfter your environment has been activated, you can either use VS-code or jupyter for running those examples on your local computer.
Each example lives in its own folder and follows the same three-stage workflow:
build_inputs.ipynb/model_setup.ipynb— build the mesh and the forcing fields (elevation, rainfall, tectonics, sea level) and export them as the.npz/netCDFfiles goSPL reads.runModel.py+input-*.yml— the goSPL driver script and its YAML configuration; launched from a terminal, optionally under MPI.sims-analysis.ipynb/extract_strata.ipynb— post-process the HDF5 outputs (remap to a regular grid; extract elevation, erosion–depositionerodep, flow accumulation, stratigraphy) and visualise the results.
Shared post-processing utilities live in shared_scripts/ (mapOutputs, extractBasin, getCatchmentInfo, stratal, umeshFcts), and HPC deployment notes are in hpc-setup/.
| Example | What it demonstrates |
|---|---|
continental_flux |
Global continental erosion–deposition and sediment flux to the oceans over 1 Myr on a coastline-refined mesh. |
erodep_1My |
Global 1 Myr run coupling stream-power erosion, marine deposition and flexural isostasy. |
plate_mvt |
Global landscape evolution driven by horizontal plate motion (advection) together with vertical tectonics. |
| Example | What it demonstrates |
|---|---|
generate_2Dmesh |
Building 2D unstructured (Voronoi / UGRID) meshes and goSPL input files, including from a GeoTIFF DEM. |
flow_direction |
Comparison of flow-routing schemes — single-flow (SFD), two-neighbour and multiple-flow-direction (MFD). |
implicit_timestepping |
Sensitivity of the implicit solver to the time step Δt (500 yr → 5 kyr): stability versus accuracy. |
escarpment_retreat |
Retreat of a rifted-margin escarpment under fluvial incision, hillslope diffusion, orographic rain and flexure. |
glacial_erosion |
Glacial erosion coupled with river/soil transport and critical-slope diffusion (run scripts only). |
stratigraphic_record |
Building a passive-margin model that records stratigraphy, then extracting stratal architecture and a Wheeler (chronostratigraphic) chart. |
The examples provided here target the 2026.6.13 goSPL release (see environment.yml) and consist of simple local and global models that illustrate the main capabilities of the code. If you are new to goSPL, start with the local example stratigraphic_record and the global example continental_flux.
A typical run, from an activated environment, builds the inputs in the relevant notebook, then launches the model from a terminal and finally post-processes the outputs in the analysis notebook:
conda activate gospl-smoke
cd Local-examples/stratigraphic_record
mpirun -np 4 python runModel.py -i input-strati.yml
Replace 4 with the number of MPI processes to use and input-strati.yml with the example's input file. Add -v for verbose output.